Introduction
Codejet Assistant Figma Plugin is synced with Jet UI Design System. It helps you design and launch your product.
Video tutorial
Here is a short tutorial on how to use Codejet Assistant Figma Plugin:Step-by-step guide
Here, you will find a step-by-step guide on how to use the Codejet plugin to generate code from your Figma design. Please follow the instructions carefully and enjoy the process!1
Open Codejet Plugin
To use the plugin in Figma, open it from the Plugins section. Alternatively, you can find it on the Community page and launch it from there. Get the plugin here.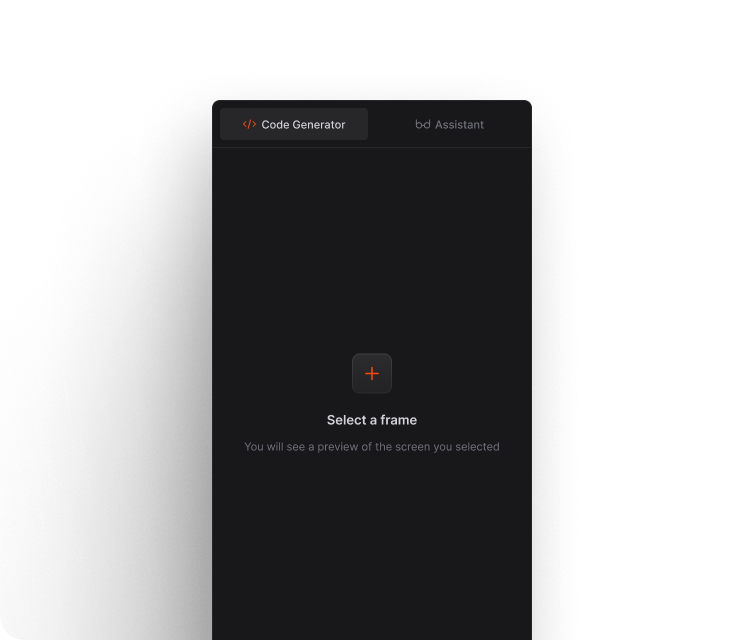
2
Select Artboard
When the Codejet plugin opens, you will need to select the frame of your design that you want to preview. This selection will be added to the preview pane.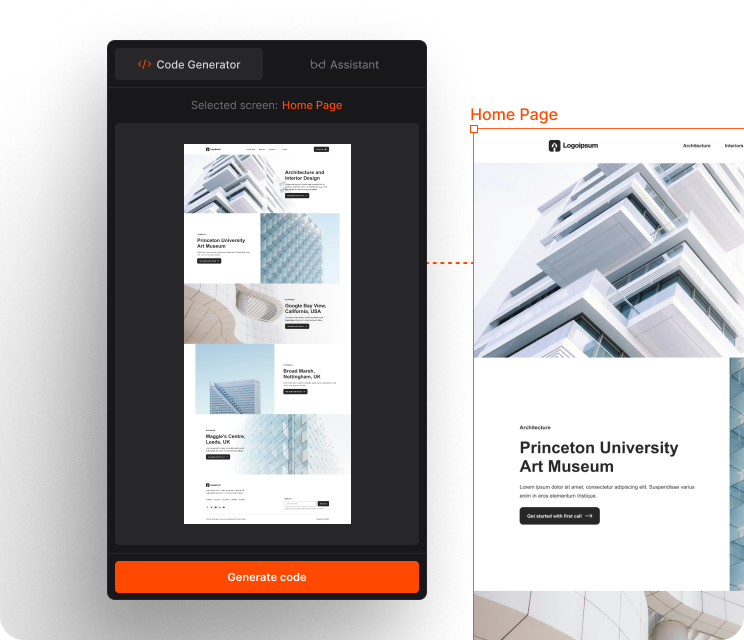
3
Generate Code
After generating the code, you can manage and view all your converted projects by clicking on “View Code.” This action requires logging into Figma, where you’ll be directed to a page listing all projects you’ve worked on with the Codejet Assistant. Select any project to open it in the Visual Builder.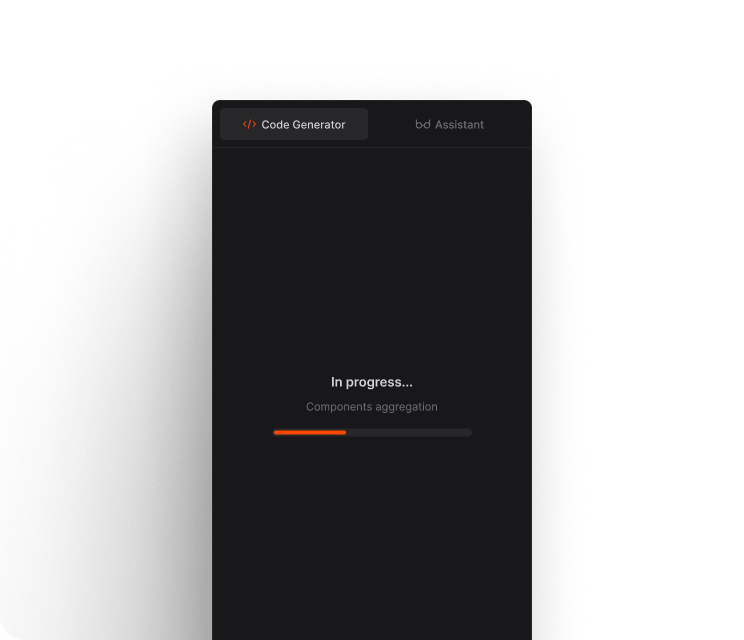
4
View Projects
By clicking “View Code,” you will be prompted to log in to Figma. Once logged in, you’ll see all the projects you have converted.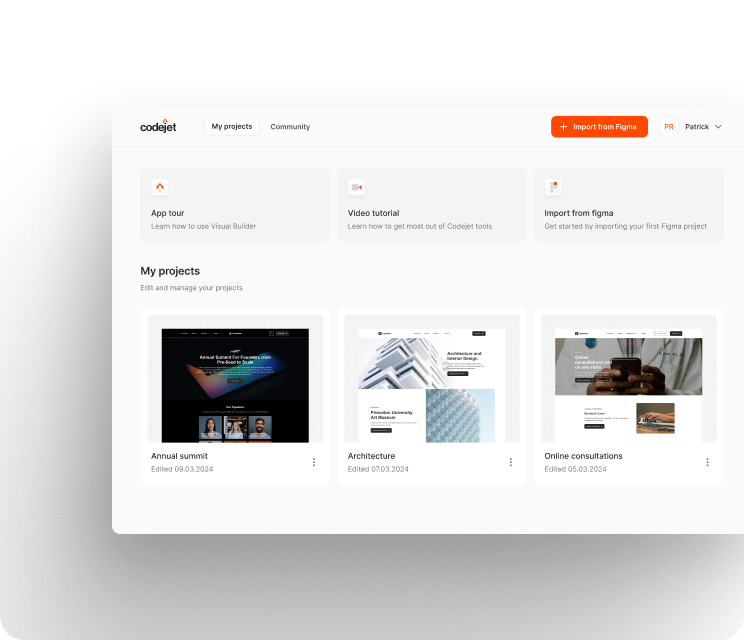
5
View Code
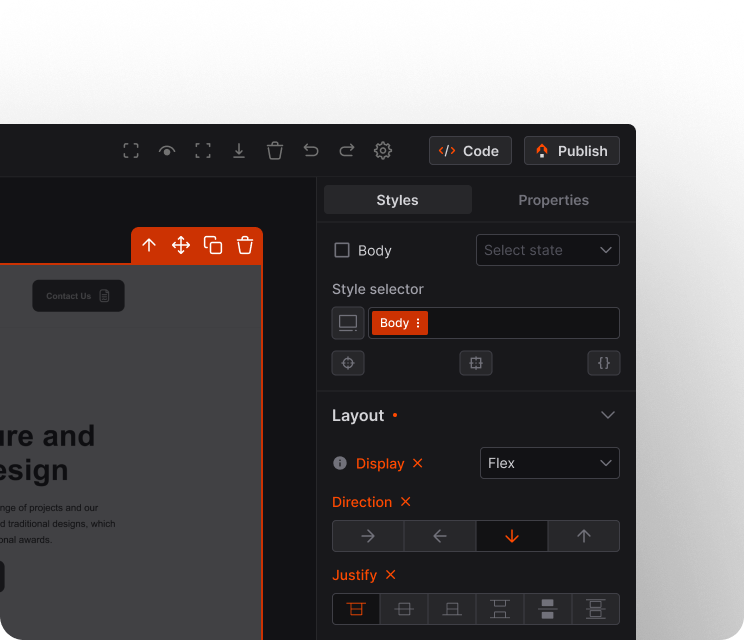
Select a project to view it in our visual editor, where you can enhance design, download the code or publish it on any domain of your choice.